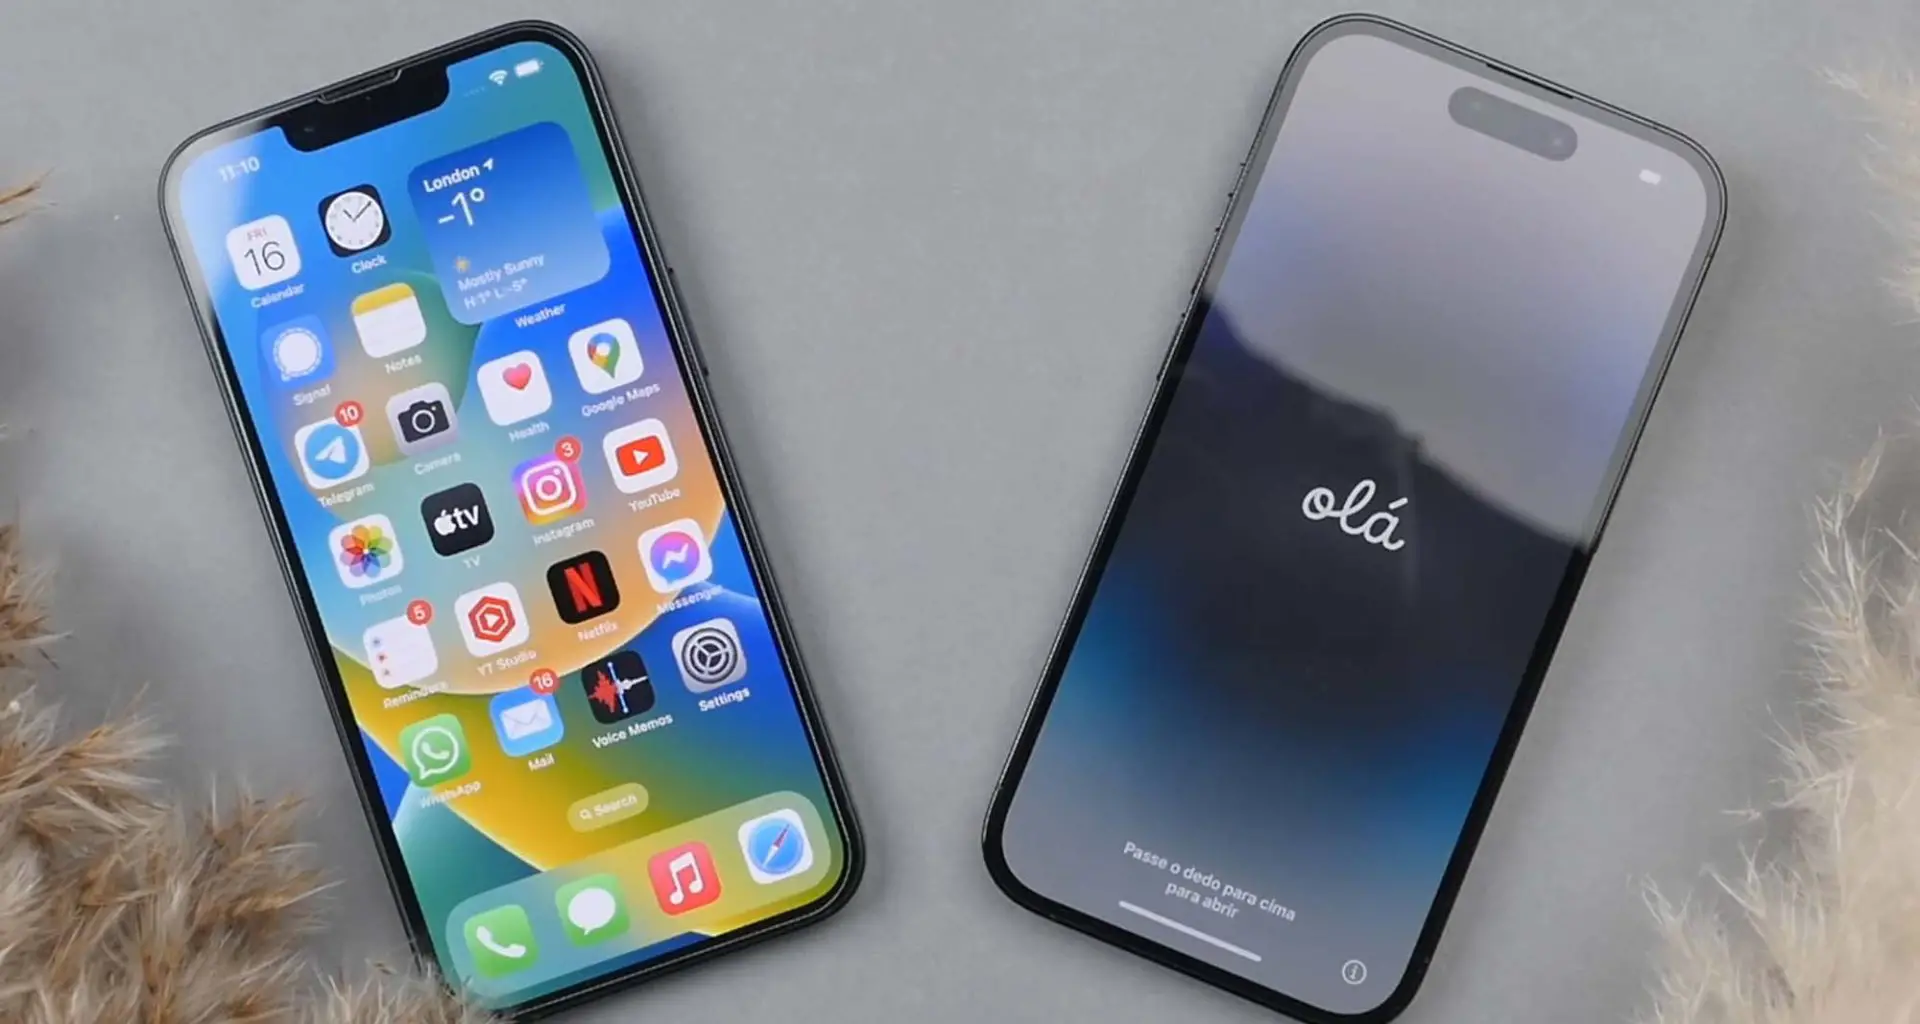
Upgrading to a new iPhone is always an exciting experience. The latest model brings new features and improved performance. However, before making the switch, it’s important to properly backup your existing iPhone data.
You want to make sure contacts, photos, messages, and app data seamlessly transfer to your new device.
The good news is that Apple provides iPhone users with a few different backup options. While paid iCloud storage provides the simplest route, there are also free alternatives to backup your iPhone contents. In this guide, we’ll explore the various methods to safely backup your iPhone before an upgrade.
Use iCloud Backup
Apple includes 5GB of free iCloud storage with every iPhone. This space can be used to automatically backup your iPhone when connected to WiFi and power. iCloud backs up a variety of content including:
- Contacts
- Messages
- Photos
- Calendars
- Device Settings
- App Data
To setup iCloud backups on your iPhone:
- Open the Settings app
- Tap your name at the top
- Tap iCloud
- Tap iCloud Backup
- Turn on iCloud Backup
Your iPhone will now automatically backup to iCloud when connected to power and WiFi. You can check backup status and manage storage under Settings > [Your Name] > iCloud > Manage Storage. Tap Backups to see the latest backup date and size.
One downside is that 5GB fills up quickly with photos and app data. You may need to purchase more iCloud storage for comprehensive backups. Plans start at $0.99/month for 50GB of space.
Use iTunes to Backup to Your Computer
Before wireless backups, iPhone users relied on iTunes software to backup and sync device content. This wired backup method is still available using a Mac or Windows PC with iTunes installed.
To backup iPhone to iTunes:
- Connect your iPhone to your computer using the included USB cable
- Open iTunes on your computer
- Select your iPhone from the toolbar
- Click Summary in the sidebar
- Click Back Up Now to start a manual backup
The backup will include much of the same content saved with an iCloud backup like messages, photos, contacts, and more. App data can also be copied from iTunes.
One advantage of iTunes backup is that content is stored locally on your computer rather than the cloud. This provides more control over your data.
However, an iTunes backup requires connecting the iPhone to a computer each time. It’s less convenient than wireless iCloud syncing.
Use Third-Party Apps to Backup iPhone Data
There are also apps available to backup specific iPhone data outside of Apple’s ecosystem. For example:
Google Photos – Backs Up Photos and Videos
The Google Photos app provides free, unlimited storage for iPhone photos and videos. It works by:
- Downloading the Google Photos app from the App Store
- Signing into your Google account
- Turning on backup and sync in the Google Photos settings
Google Photos will then automatically backup any new photos and videos taken on your iPhone. This content can later be restored when setting up your new device.
WhatsApp – Backs Up Messages
WhatsApp users can backup their message history inside the app. This includes text messages, photos, and videos sent through WhatsApp.
To backup WhatsApp data:
- Open WhatsApp
- Go to Settings > Chats > Chat Backup
- Tap Back Up Now to perform a manual backup
Backups can be configured to happen manually, daily, weekly or monthly. WhatsApp stores backups on iCloud or Google Drive depending on your settings.
Third-Party Backup Apps
Apps like iMazing and AnyTrans let you backup iPhone content to a computer over WiFi. This works similarly to iTunes backup, but wirelessly. Such apps may provide more flexibility compared to Apple’s free options.
However, quality varies across third-party backup tools. Make sure to research apps thoroughly before trusting them with your iPhone data.
Temporary iCloud Storage
Apple provides a handy option when you are setting up a new iPhone and don’t have enough iCloud storage for a backup. During the new device setup process, you will have the option to temporarily use unlimited iCloud storage for free.
This allows you to backup your old iPhone and transfer the data to your new iPhone during setup. The unlimited storage is available for around 1 month.Make sure to disable it afterwards to avoid being charged.
To take advantage of this offer:
- Backup your old iPhone to iCloud before beginning the new device setup
- Choose to transfer data from your old iPhone during new device setup
- Select the option to temporarily use unlimited iCloud storage when prompted
- Disable unlimited storage in Settings after 1 month to avoid charges
Use iPhone-to-iPhone Direct Transfer
The easiest way to transfer iPhone data is directly from your old device to your new device. This is done using your iPhones during the setup process.
To directly transfer data between iPhones:
- Turn on your new iPhone and follow the setup assistant
- Select “Transfer from iPhone” when asked how to setup your new phone
- Keep both iPhones near each other with Bluetooth and WiFi enabled
- On the old iPhone, tap Transfer when prompted
- Data like contacts, photos, videos, etc. will transfer directly across
- You can track transfer progress on each device
This convenient “phone-to-phone” method allows you to migrate iPhone content wirelessly. No iCloud storage, iTunes, or cables required!
Choosing the Best Backup Method
With so many options, which iPhone backup method is right for you? Here are some guidelines for choosing the best approach before a device upgrade:
- Use iCloud if you want backups handled automatically without cables or computers.
- Rely on iTunes for wired backups with full control over syncing locally.
- Pick phone-to-phone transfer for convenience copying everything directly across.
- Choose temporary iCloud storage if you have limited space but need a comprehensive backup.
- Back up photos/videos separately with Google Photos unlimited free storage.
- Consider paid iCloud plans if you need more space for regular backups.
Also think about:
- Do you sync an iPhone with multiple computers?
- How much content like photos, videos and music do you have?
- Are you switching operating systems from iOS to Android?
Answering questions like these will help determine the ideal backup method before moving your data to a new iPhone.
When to Backup Your iPhone
Timing your iPhone backup strategically helps ensure you capture the latest data. Best practice is to complete a backup right before setting up your new device.
However, additional periodic backups in the preceding days or weeks also provide data protection.
Here are some recommendations on when to backup your iPhone before switching to a new model:
- 1-2 Days Before: Complete a full iCloud or iTunes backup.
- Night Before: Backup again to capture latest app data and photos.
- Right Before: Final backup immediately before beginning the new iPhone setup process.
- During Setup: Use temporary iCloud storage to backup and transfer data.
- Periodically: More frequent backups in the weeks leading up provide redundancy.
Follow this timeline as a guide. The key is preventing any data loss from the time of your last backup to when you transfer info to the new iPhone.
How to Restore iPhone Backup
After safeguarding your data with a backup, the next step is knowing how to restore it. Restoring replaces the information on your new iPhone with data from the backup.
There are a couple approaches to choose from depending on your backup method:
Restore from iCloud
If using iCloud, restoring is handled automatically during the new iPhone setup process.
Simply select “Restore from iCloud backup” on the Apps & Data screen when first configuring your new device. Sign into iCloud and select the desired backup. Your iPhone data will download and restore onto the new phone.
Restore from iTunes
To restore an iTunes backup to a new iPhone:
- Connect your new iPhone to the computer hosting the iTunes backup via USB.
- Open iTunes on the computer and select your new iPhone.
- Click Restore Backup on the Summary screen.
- Select the desired backup file and click Restore.
- Data from the backup will load onto your new iPhone.
That covers the basics of restoring backups taken through Apple’s provided options. Third-party apps will also prompt you to restore from the latest backup during new device setup.
What Data Transfers From Old To New iPhone?
iPhone backups taken through iTunes, iCloud or direct transfer move lots of valuable personal information. Here’s a sampling of the data that will transfer to your new iPhone:
- Contacts
- Messages – iMessages, SMS, MMS
- Call History
- Books
- Photos
- Videos
- Email Accounts
- Home Screen and App Organization
- Device Settings
- Calendars
- Safari Bookmarks
- Health Data
- Keychain Passwords
- Apple Watch Data
- Apple Pay Cards
- Wallet Items
The exact contents backed up and transferred over depends on your backup service, methods and settings. But in general, you can expect a seamless transition with most of your personal data making it to the new iPhone.
What Data Doesn’t Transfer Between iPhones?
While iPhone backups provide extensive data transfer, there are some limitations on what carries over between devices:
- Purchased Apps – you’ll have to redownload
- Music – will need to sync again or use a cloud library
- eBooks – depends if synced to iTunes before
- Voicemail – doesn’t transfer
- Touch ID Settings – can’t transfer between devices
- Apple Pay – need to re-add cards
- Call History – only transfers directly from iPhone to iPhone
You’ll want to make note of these exceptions and plan to transfer any unsupported data manually if needed.
Transferring Data From Android To iPhone
If your upgrade involves switching from an Android device to iPhone, the transfer process works a bit differently. Direct phone-to-phone transfer is not supported between iOS and Android.
Instead, you’ll need to rely on wireless transfer using your Google account. Apple prompts Android users to transfer data this way during iPhone setup.
Google data that can move from Android to iOS includes:
- Contacts
- Calendar
- Photos
- Videos
- Chrome bookmarks
Non-Google data will need to be transferred manually or using third-party transfer apps. Switching operating systems takes more effort but still allows transferring essentials to the new iPhone.
Impact of Restoring From Backup
Restoring your new iPhone from a backup takes time but provides obvious benefits. Make sure to allot a few hours for the full process.
On the plus side, restoring from backup:
- Saves you time manually transferring data and settings
- Brings over valuable personal content like photos
- Recovers data like messages which is hard to transfer otherwise
- Preserves your app layouts and home screen organization
- Resyncs accounts and settings automatically
The downside is that restoring can also carry over:
- Outdated or unnecessary data
- Extraneous settings and configs
- Cached junk files filling up storage
- Problem files or software bugs
Expect some cleanup after restoring an iPhone backup. But convenience usually outweighs downsides for most users.
When To Setup iPhone As New Instead
The natural question becomes: when should I just set up my new iPhone as new instead of restoring a backup?
Here are cases when a fresh setup tends to work better than using an old backup:
- Switching from Android so backup/restore isn’t compatible
- Troubleshooting iPhone problems possibly caused by backup
- iPhone is very old with outdated backup archive
- Prefer manually configuring new iPhone from scratch
- Concerned about outdated data or cruft from old iPhone
Keep in mind any content not synced to cloud services will be lost doing a fresh setup. Data preservation is the big advantage of restoring versus new setup.
How to Recover Deleted iPhone Backups
Before your iPhone upgrade, it’s a smart idea to double check your backups exist as expected. But what if you realize an important iTunes or iCloud backup has disappeared?
Here are some options to recover a deleted iPhone backup:
iCloud Backup
iCloud only keeps a limited backup history, so you may be out of luck. However, try:
- Checking recently deleted files and recover from there if available.
- Contacting Apple Support for possible options to undelete backups.
- Using third-party software to scan and recover lost iCloud data.
iTunes Backup
For iTunes backups, you have better chances of recovery. Possible methods include:
- Finding the backup archive in your computer’s recycle bin and restoring.
- Using data recovery software to resurrect deleted iTunes backups.
- Locating backups on your computer through file search or terminal.
Don’t lose hope if a backup vanishes before your iPhone upgrade. With some effort, you may be able to find and restore the lost backup file.
What To Do If You Forgot To Backup iPhone
The worst feeling is getting ready to upgrade to a new iPhone and realizing you forgot to backup the old one. Before panic sets in, take a deep breath.
If you forgot to backup, here are some options to still transfer or recover data:
- Use phone-to-phone transfer if still possible.
- Recover lost photos with Google Photos link.
- Call carrier to retrieve voicemails.
- Contact Apple Support for backup help.
- Download important data from iCloud like contacts, calendars, notes.
- Sign-in to apps and services to sync recent data to new iPhone.
- Check iTunes on computer for any auto-backups it may have.
While inconvenient, with some work you can get much of your forgotten iPhone data back after upgrading. Chalk it up as a lesson to remember for the next go around!


